Subtitles - Convert SUP to SRT
Ripping your DVDs and Blu Rays pt.2: Extract Subtitles for M4V / MP4 / iTunes
They may help answer your questions. This post is specifically about DVD subtitles in an MKV container. DVD subtitles are not an image, they are a text file (Blu Ray subtitles are images and are stored in SUP files).
I will be using the excellent Swedish drama 'Crimes of Passion' to demonstrate.
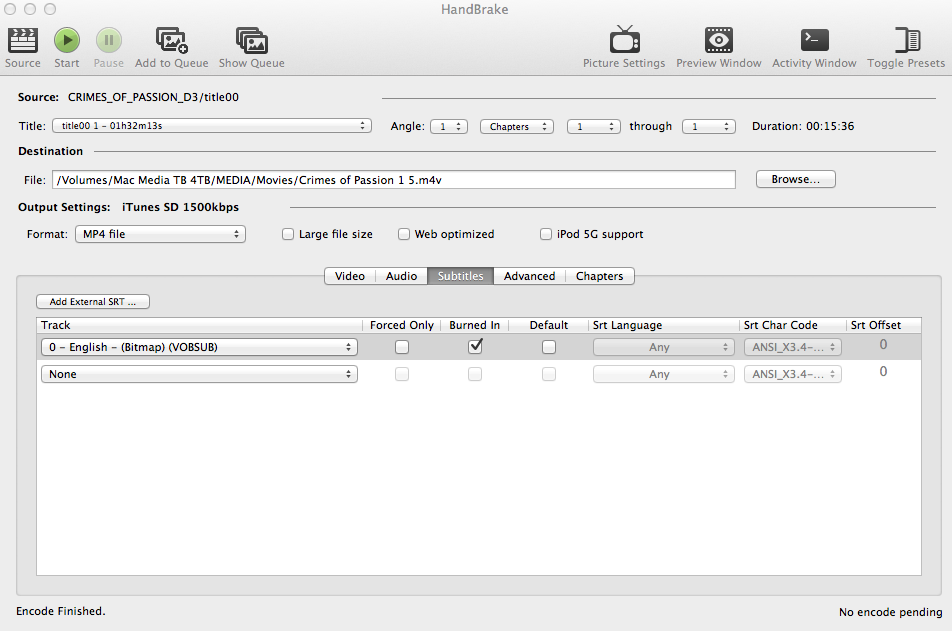
When you look in Handbrake you will see they appear as VOBSUB (text files):
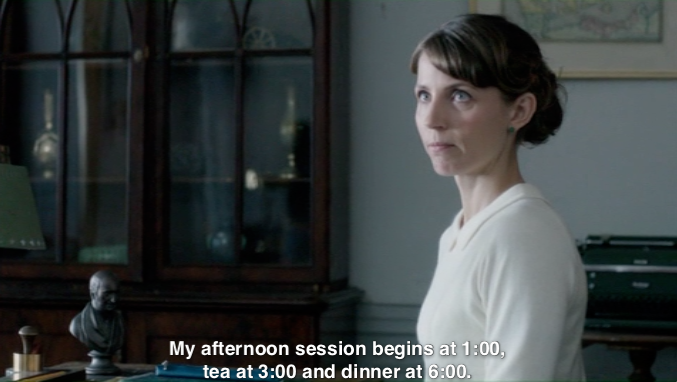
What Handbrake does is to then apply the worst font in the world to it to create a horrible looking output:
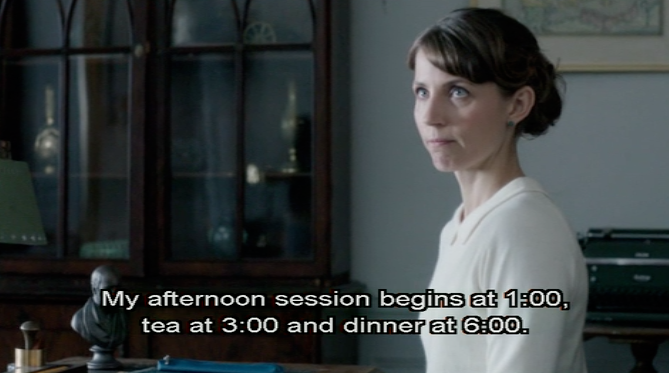 |
| "Good grief," thought Puck, "I can't be doing with this subtitle font..." |
Ahhhh! It's horrible! It looks very jagged even on a small screen, but on a big TV it's awful! Also, if you burn it in, you can't ever turn it off. You never know, you might learn Swedish sometime... Or have Swedish friends over to watch it whilst you are cleaning the car....
Anyway, luckily, the font that Apple devices (iPad, iTunes, Apple TV) use are much nicer and it would be great to have those instead. We just need the subtitles in a file inside the MP4 container
"Well don't burn it in - just rip the subtitles as a file and turn them on in Quicktime or something" I hear you cry! Well, yes, you could try that, but Apple devices don't understand the subtitle output. Don't know why... Subler sees it just fine, but it causes Quicktime to error.
Here's how it's done (as ever, using my Mac - PC/Linux users will have to try and find equivalent software).
For this article, I used:
- Handbrake version 0.9.9 x86_64
- MKVToolNix version 5.6.0
- Subler version 0.30
Handbrake
Rip the MKV to MP4 using Handbrake, but don't include the subtitles! Don't know how? Read this:
Ripping your DVDs and Blu Rays for your Apple Mac / iPod / iPhone / iPad etc
MKVToolNix
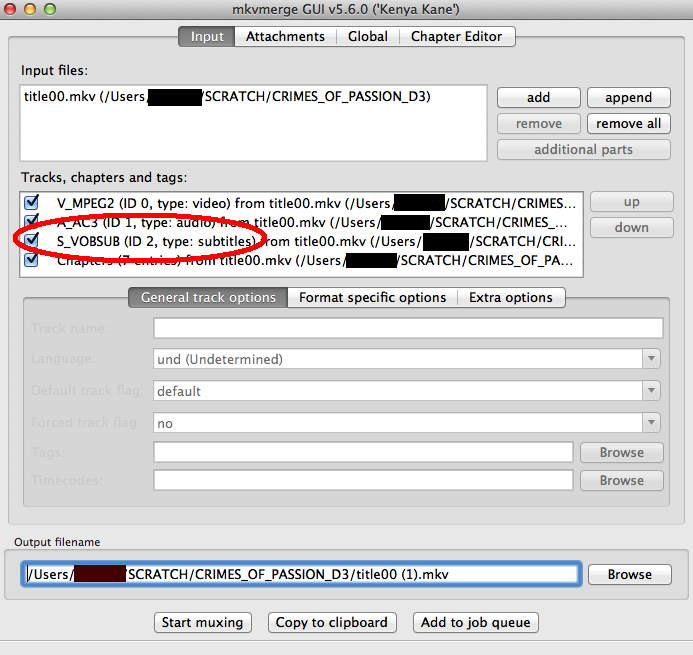
You will need a handy little tool called MKVToolNix which can be downloaded for PC, Mac and Linux. Once installed, open the program GUI and find the MKV file you are wanting to rip and "add" it. Now you want to look for the subtitle track you are after and make a note of the ID number - you'll need it in a minute:
Now you need to open Terminal, because you are going to use the non-GUI utility mkvextract, that comes bundled with MKVToolNix, to get the subtitles extracted. You will need to type the following:
/Applications/Mkvtoolnix.app/Contents/MacOS/mkvextract tracks /<MKVpath>/<MKVTitle>.mkv <TrackNo>:/<OutputPath>/<OutputFile>.sup
<MKVpath> = the directory where your MKV is stored
<MKVTitle> = the name of the MKV
<TrackNo> = The subtitle track number you made a note of earlier
<OutputPath> = the directory where you want the subtitles
<OutputFile> = the output file name
One you hit enter, the subtitles will be extracted:

And once the progress = 100% your subtitle file is ready and waiting!
Now the program is clever - it knows these aren't images so it changes the output file to be IDX and SUB. The IDX file is the index file and the SUB file is where all the subtitle text is held. None of that matters really, it's now a text file, and as such can be understood by a wider variety of programs - including Apple products.
Subler
Good old Subler - where would I be without it - it's a brilliant utility for the Mac.
You just need to add the subtitle track and save it - I've detailed how to do that in this blog post towards the bottom of the article.
You are adding the IDX file this time, rather than the SRT, but it's the same process as before apart from that.
FINISHED!
And so here we are - the finished movie:
 |
| "At last", thought Puck, "a subtitle font I can adore..." |
These subtitles are now ready to be used on your iDevices and you can set options on devices like Apple TV to make them bigger or smaller or change the font. Huzzah!